Skip to main content
Editing the footer of the home page
In order to go to the footer edition you have to:
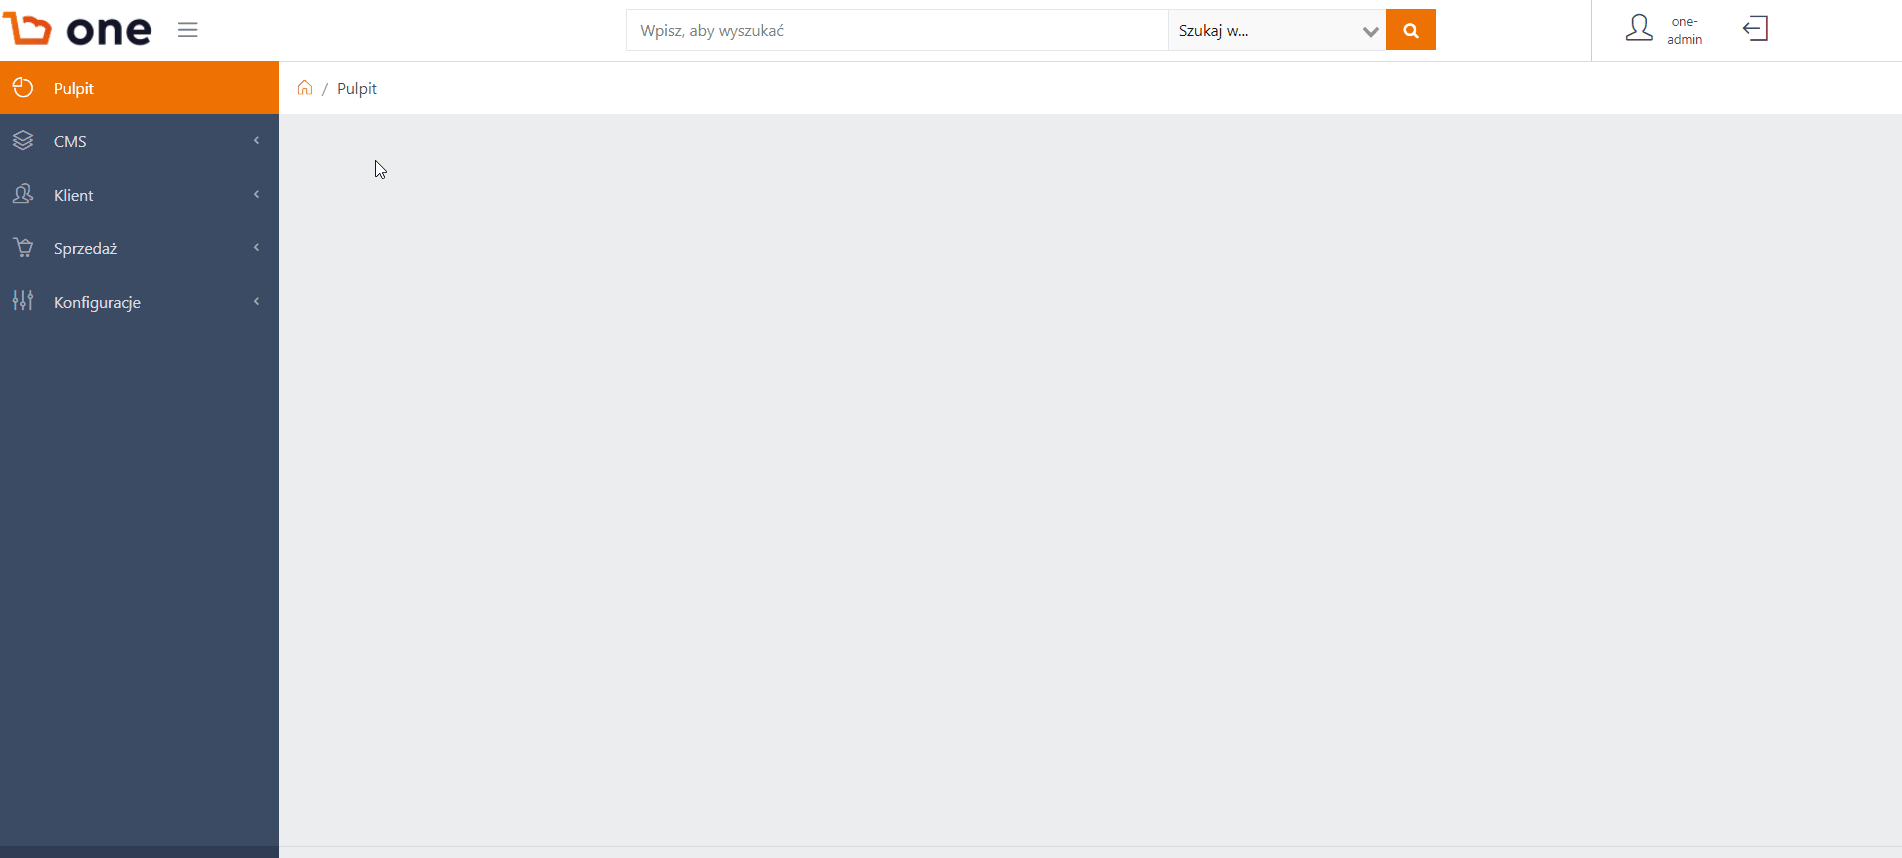
- Log in to the Admin Panel
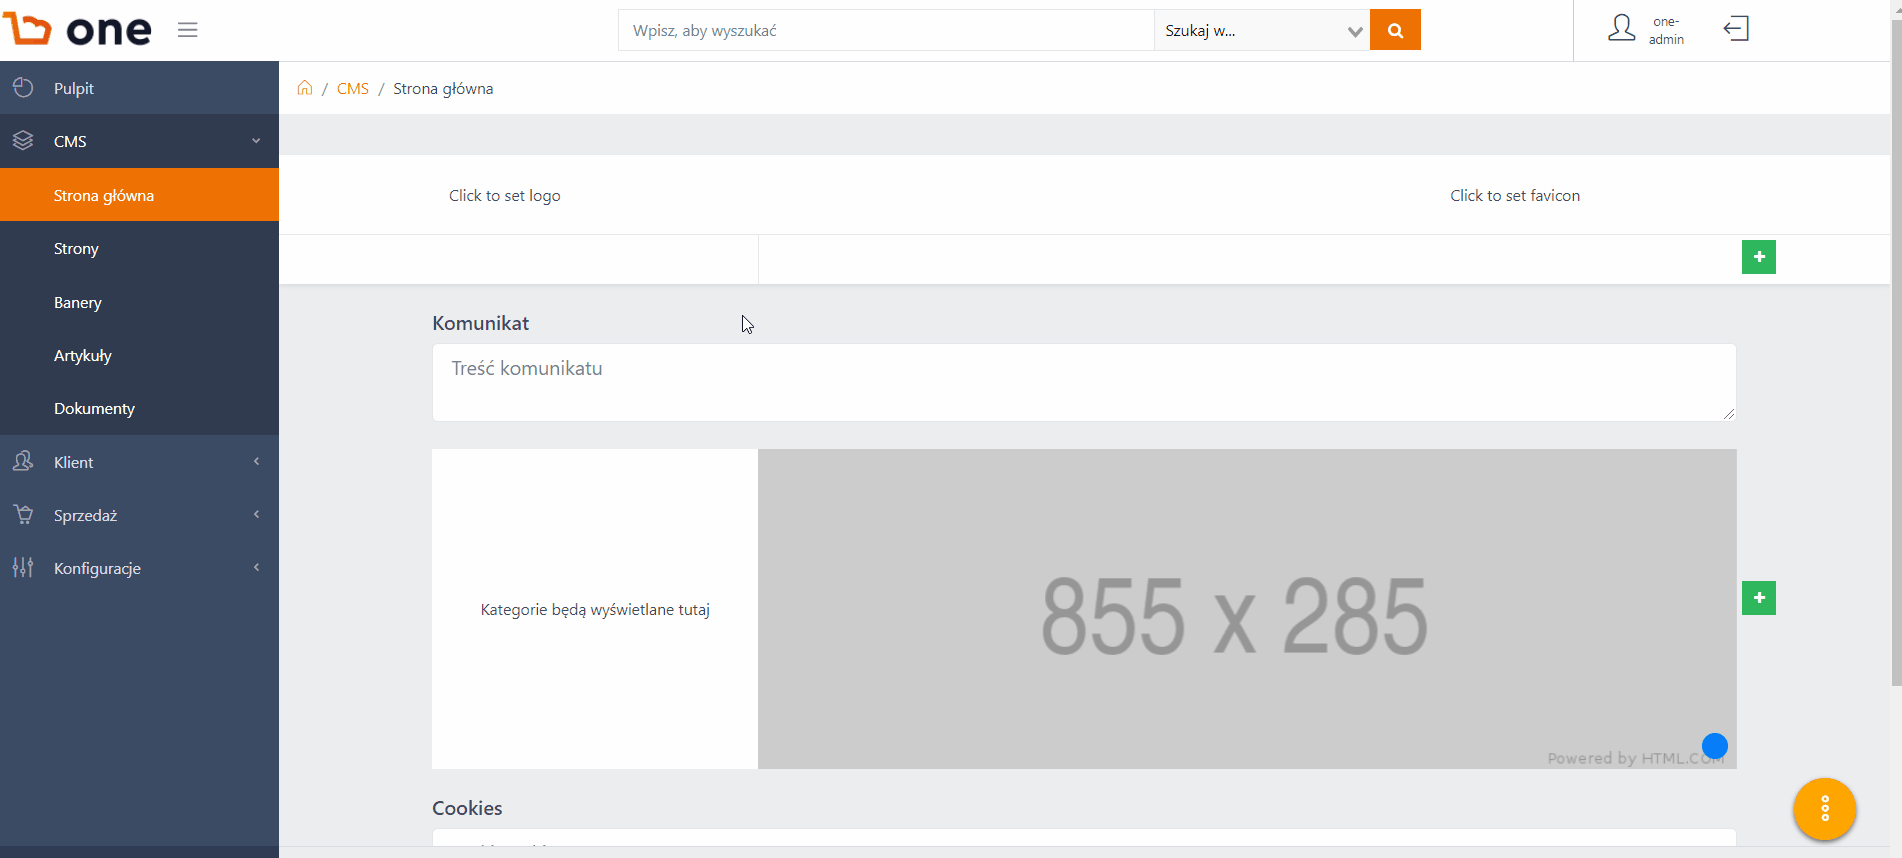
- Go to "CMS" section in left panel
- Select the "Front content" tab
- Go to the bottom of the page
- Start the footer editing panel by pressing on one of its elements
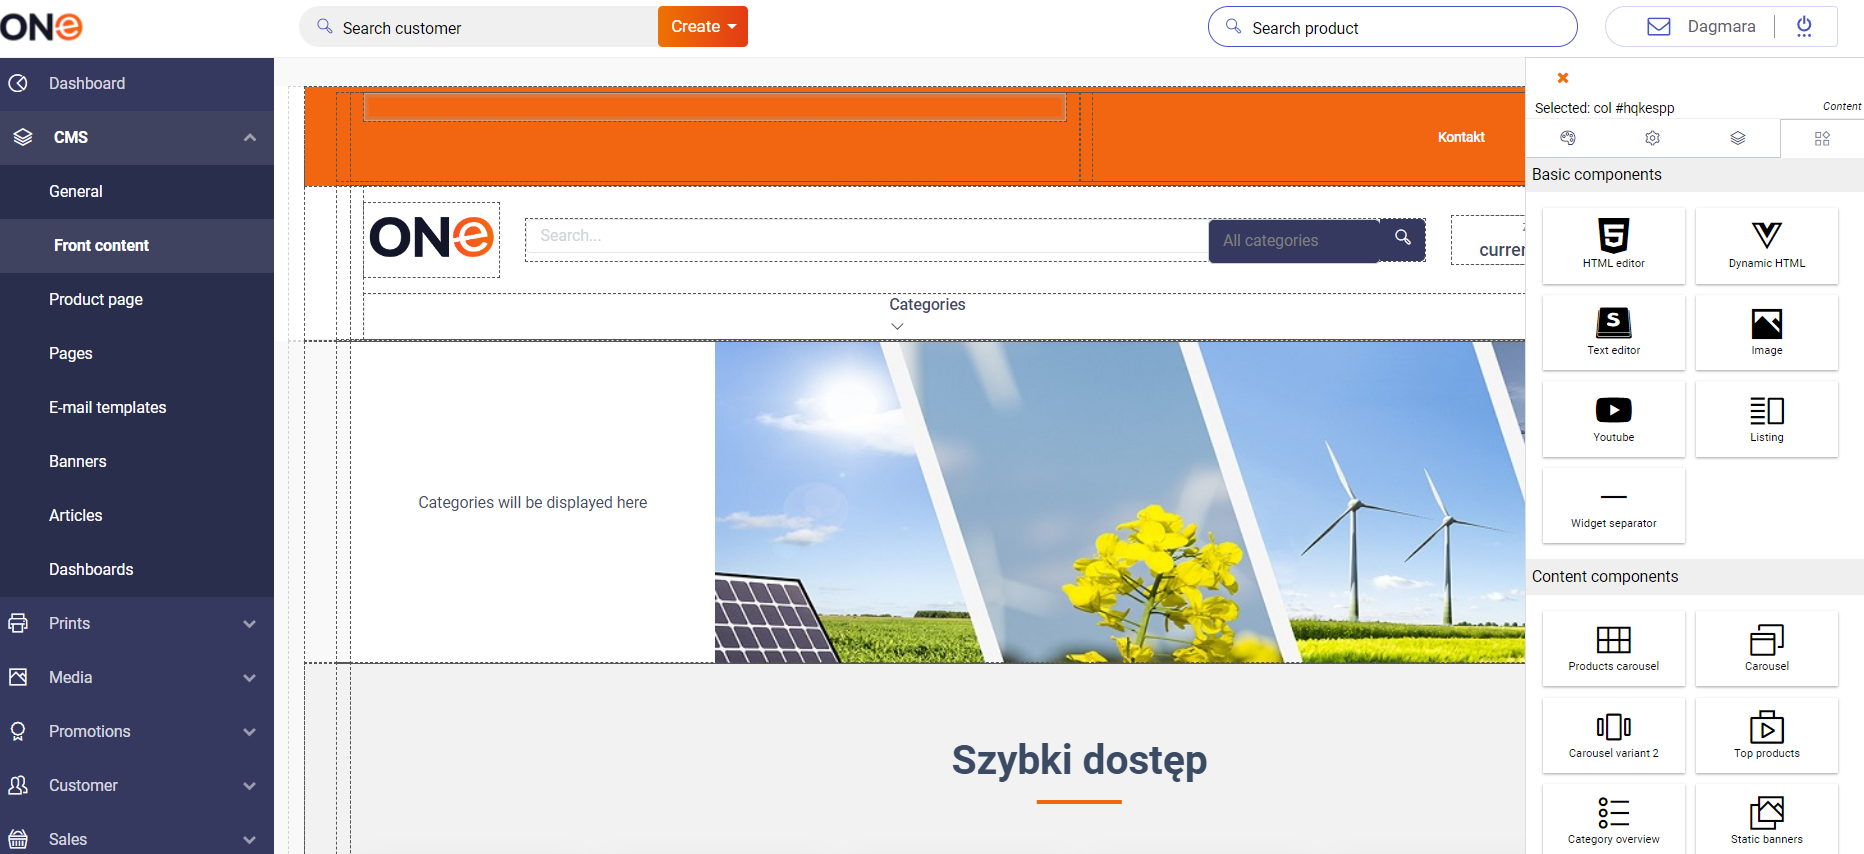
To add content containers to the footer you have to:
- Go to the footer editing menu
- Select the footer level in which you want to add a container in the third menu tab
- Select the type of content container you want to add:

To add components to the footer you have to:
- Select the container to which you want to add a component by clicking on the footer or select a container from the list of containers in the footer edit menu.
- Go to the fourth tab of the footer editing menu
- Select the type of component you want to add from the menu:
-
- HTML editor
- Image
- Listing
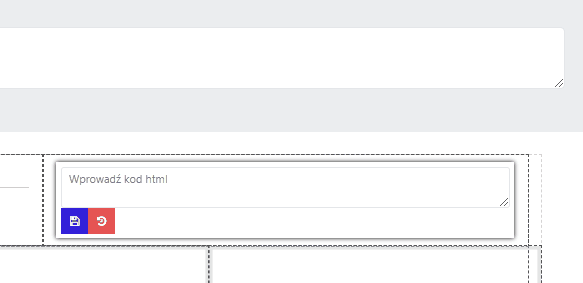
- Go to the third tab of the menu for editing a component footer
Editing of components
-
-
- Go to component editing
- Enter HTML code
- Save the changes
-
-
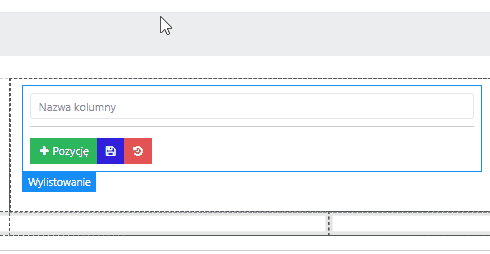
- Go to component editing
- Enter a component title
- Add an item
- Fill in the content of the item and enter a redirect link
- Save the changes
-
-
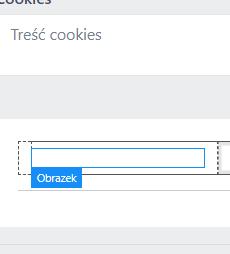
- Go to component editing
- Select the image you want to add from the added files to the CMS by pressing the green button
- Enter an alternative text that will be displayed in case of loading problems
- Enter the redirection address after pressing on the image
- Save the changes
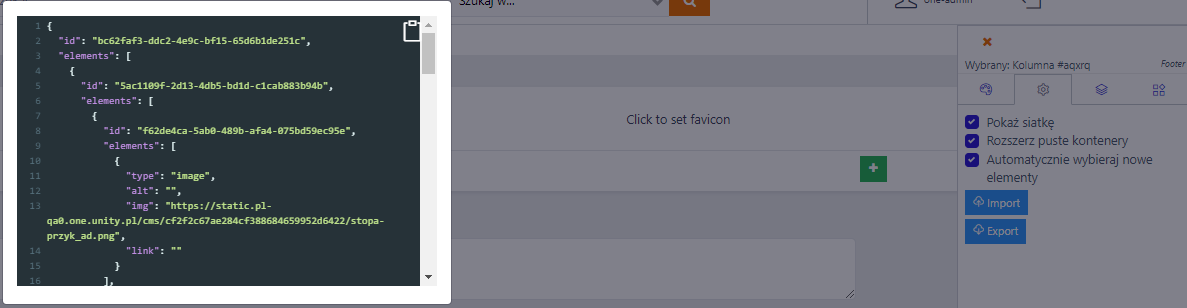
To export HTML footer code you have to:
- Go to the footer editing menu
- Select the second tab of the footer editing menu
- Press the "Export" button
- Copy the HTML code of the footer
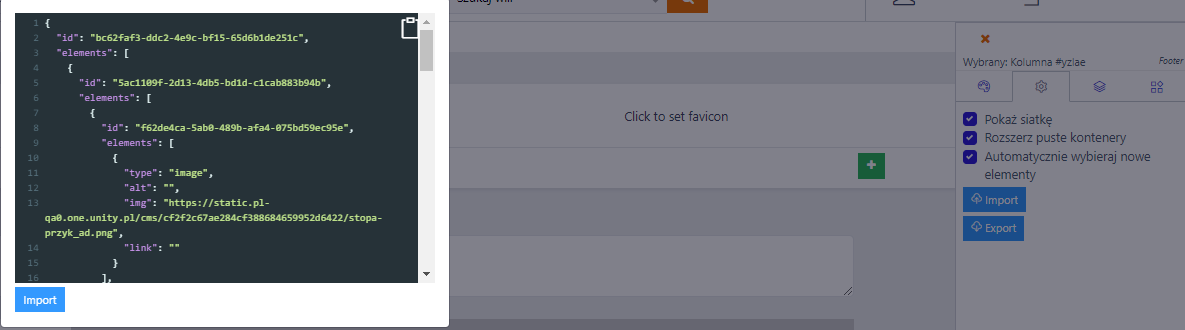
To import HTML footer code you have to:
- Go to the footer editing menu
- Select the second tab of the footer editing menu
- Press the "Import" button
- Paste the HTML code of the footer
- Save the footer by pressing the "Import" button
Comments
0 comments
Please sign in to leave a comment.